
Valorant Crosshair Settings Guide 2026: Every Parameter Explained
The complete Valorant crosshair settings guide 2026: every parameter explained, recommended values, and setups by rank and role. Build your perfect reticle today.

Valorant Crosshair Settings Guide 2026: Every Parameter Explained
If you can describe your aim in one word — inconsistent — the problem is almost never your raw mechanics. It is the reticle sitting in the center of your screen. This Valorant crosshair settings guide 2026 breaks down every single parameter the in-game menu exposes, explains what each one actually does to your aim, and gives you ready-to-paste values ranked by role and rank. By the end, you will not just copy a pro code — you will understand why it works.
The reality most guides skip: a crosshair is a feedback tool, not decoration. The wrong thickness, the wrong color, or an unchecked error toggle quietly steals headshots every round. Let's fix that.
Why Crosshair Settings Matter More Than Raw Aim
A crosshair has exactly two jobs: tell you where your bullet will land, and stay legible against every background in the game. Bind's orange walls, Lotus's golden light, Sunset's bright sky — each map tries to swallow your reticle. Good settings keep it visible without crowding the target.
Muscle memory only forms around a consistent visual anchor. If your crosshair changes shape as you move or spray, your brain never locks onto a single reference point. That is why the best crosshair settings prioritize stability over style.
Crosshair Color: Pick for Contrast, Not Vibe
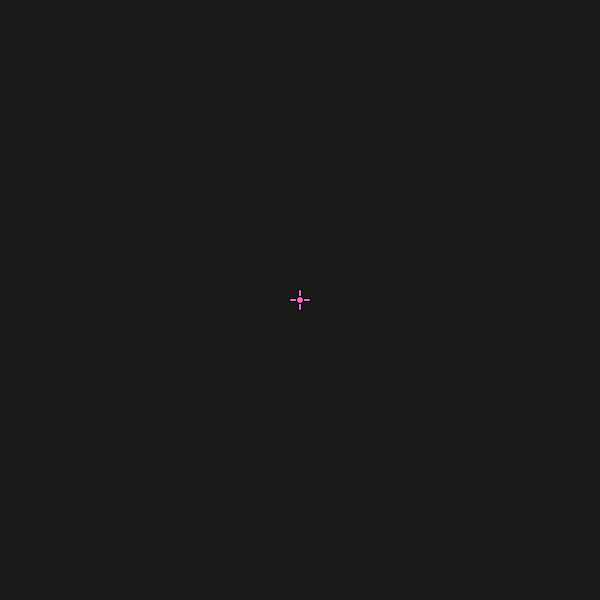
The Five Reliable Picks
If you toggle Outline On, you can run almost any color and still stay readable. Without an outline, pick the highest-contrast option for the maps you queue most.
Outlines and the Center Dot: Visibility Helpers
Outlines
Outlines draw a dark (or light) border around every line and dot. They are the single biggest visibility upgrade you can make. Recommended baseline:
Thickness 2+ starts to bloat the reticle and obscure the target's head at distance. Keep it at 1.
Crosshair Center Dot
The crosshair center dot marks the exact pixel where bullets land with zero spread (rifle first shot, one-taps). The debate is real:
A common compromise: keep the dot off with a tight inner-line gap, so the empty middle reads as the impact point. If your gap is wide (2+), turn the dot on so the true center is never ambiguous. For a dedicated crosshair for headshots, the dot-on + gap-1 combo is the most popular 2026 build.
Inner Lines Settings: The Heart of Your Reticle
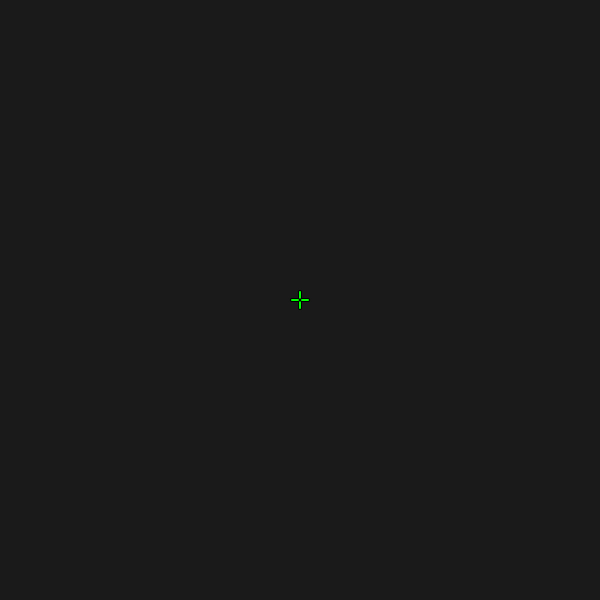
Recommended Inner Line Values
A gap of 1 with length 4 and thickness 1 is the modern pro standard. It leaves a tiny window so the enemy's head peeks through, which is exactly what you want for tracking and micro-adjustments. Go thicker than 2 and you start covering heads instead of aiming at them.
Outer Lines: Almost Always Off
Outer lines sit further out and expand dramatically when you move or shoot. For 99% of players in 2026, the correct setting is Off. They add visual noise, obscure peripheral vision, and rarely improve accuracy over a clean inner-only reticle.
The one exception: brand-new FPS players who genuinely cannot tell when their spray is drifting. For them, a faint outer line on a movement error toggle can be a training wheel — then turn it off the moment that clicks.
Offset, Movement Error, and Firing Error
Offset
Offset is the distance between your lines and the center. Offset 1–2 keeps the reticle compact; higher offsets create a "square" look that some snipers prefer but most riflers find imprecise. Match offset to your inner-line gap so the geometry feels intentional.
Movement Error
When Movement Error is On, your lines expand while walking or running, showing that bullets will not land accurately. This is a teaching tool, not a permanent aid.
Firing Error
Firing Error makes lines rise and spread as you spray, mapping the actual bullet pattern. Again, useful for learning spray control, counterproductive once your recoil pattern is muscle memory. Most pro configs have both Movement and Firing Error Off.
Settings by Rank: What to Use and When
Iron – Silver: Visibility First
New players miss because they cannot see the reticle or do not stop to shoot. Prioritize clarity over minimalism.
Gold – Platinum: Precision Transition
You can counter-strafe and one-tap. Trim the fat.
Diamond – Immortal: Minimalist Pro Build
At this level, the reticle should feel invisible. Copy the meta the pros converged on.
Browse the exact configs the top players run in our professional crosshair database and import one with a single click.
Settings by Role: Duelist, Sentinel, Controller, Initiator
Duelist (Entry / Jett, Raze, Reyna)
You take first duels and need fast, confident flicks. A compact, high-contrast reticle with a tight gap helps you snap to heads.
Sentinel (Anchor / Killjoy, Cypher)
You hold angles for long stretches. A slightly thicker line (2) reduces eye strain during long holds without losing precision.
Controller (Omen, Viper, Brimstone)
You aim around smokes and off-angles. Yellow or Cyan with outline stays readable through the gray haze.
Initiator (Sova, Fade, Breach)
You trade and re-aim constantly. The standard pro build (cyan, gap 1, length 4) handles every angle you clear.
Build Your Own: Use a Generator
Reading values is one thing; seeing them rendered is another. Open our crosshair generator, toggle each parameter live, and copy the share code straight into the game. The fastest way to internalize this guide is to spend five minutes dragging sliders and watching the reticle change.
Want a lighter break? Try the fun crosshairs collection — smiley faces, hearts, and meme reticles that prove how flexible the system really is.
Frequently Asked Questions
What is the best Valorant crosshair setting for headshots?
A compact reticle with cyan color, outline on, center dot off, and inner lines at length 4, thickness 1, offset 1. The tiny gap lets the enemy's head sit inside the crosshair, making one-taps feel natural. This is the most common setup among high-rank Vandal players.
Should I use a center dot or inner lines?
Use inner lines, not both. Inner lines with a small gap give you a visible center without the visual weight of a dot. Add a center dot only if your gap is wide enough to lose the impact point.
What color crosshair is best in Valorant?
Cyan is the safest pick across all maps because it rarely appears in Valorant's environment. Green and yellow are strong alternatives. Pick the color with the highest contrast against the maps you queue most.
Should movement and firing error be on or off?
Leave them on while learning to counter-strafe and control spray, then turn both off. Pro players keep them off because expanding lines distract during peek battles and you no longer need the feedback.
Does crosshair thickness affect aim?
Yes. Thickness 1 maximizes precision at distance; thickness 2+ is easier to see but can cover a target's head across the map. Stick to 1 or 2 and avoid anything thicker.
Conclusion
A great reticle is not magic — it is the product of understanding each parameter and matching it to your rank, role, and the maps you play. This Valorant crosshair settings guide 2026 gave you the full breakdown: color contrast, outline and crosshair center dot logic, inner lines settings, offset, and the error toggles that separate a training wheel from a pro build. Pick a baseline from your rank tier, paste it with the crosshair generator, and refine from there. Then head to our blog for deeper aim guides and the latest pro configs. Stop fighting your reticle — and start landing headshots.